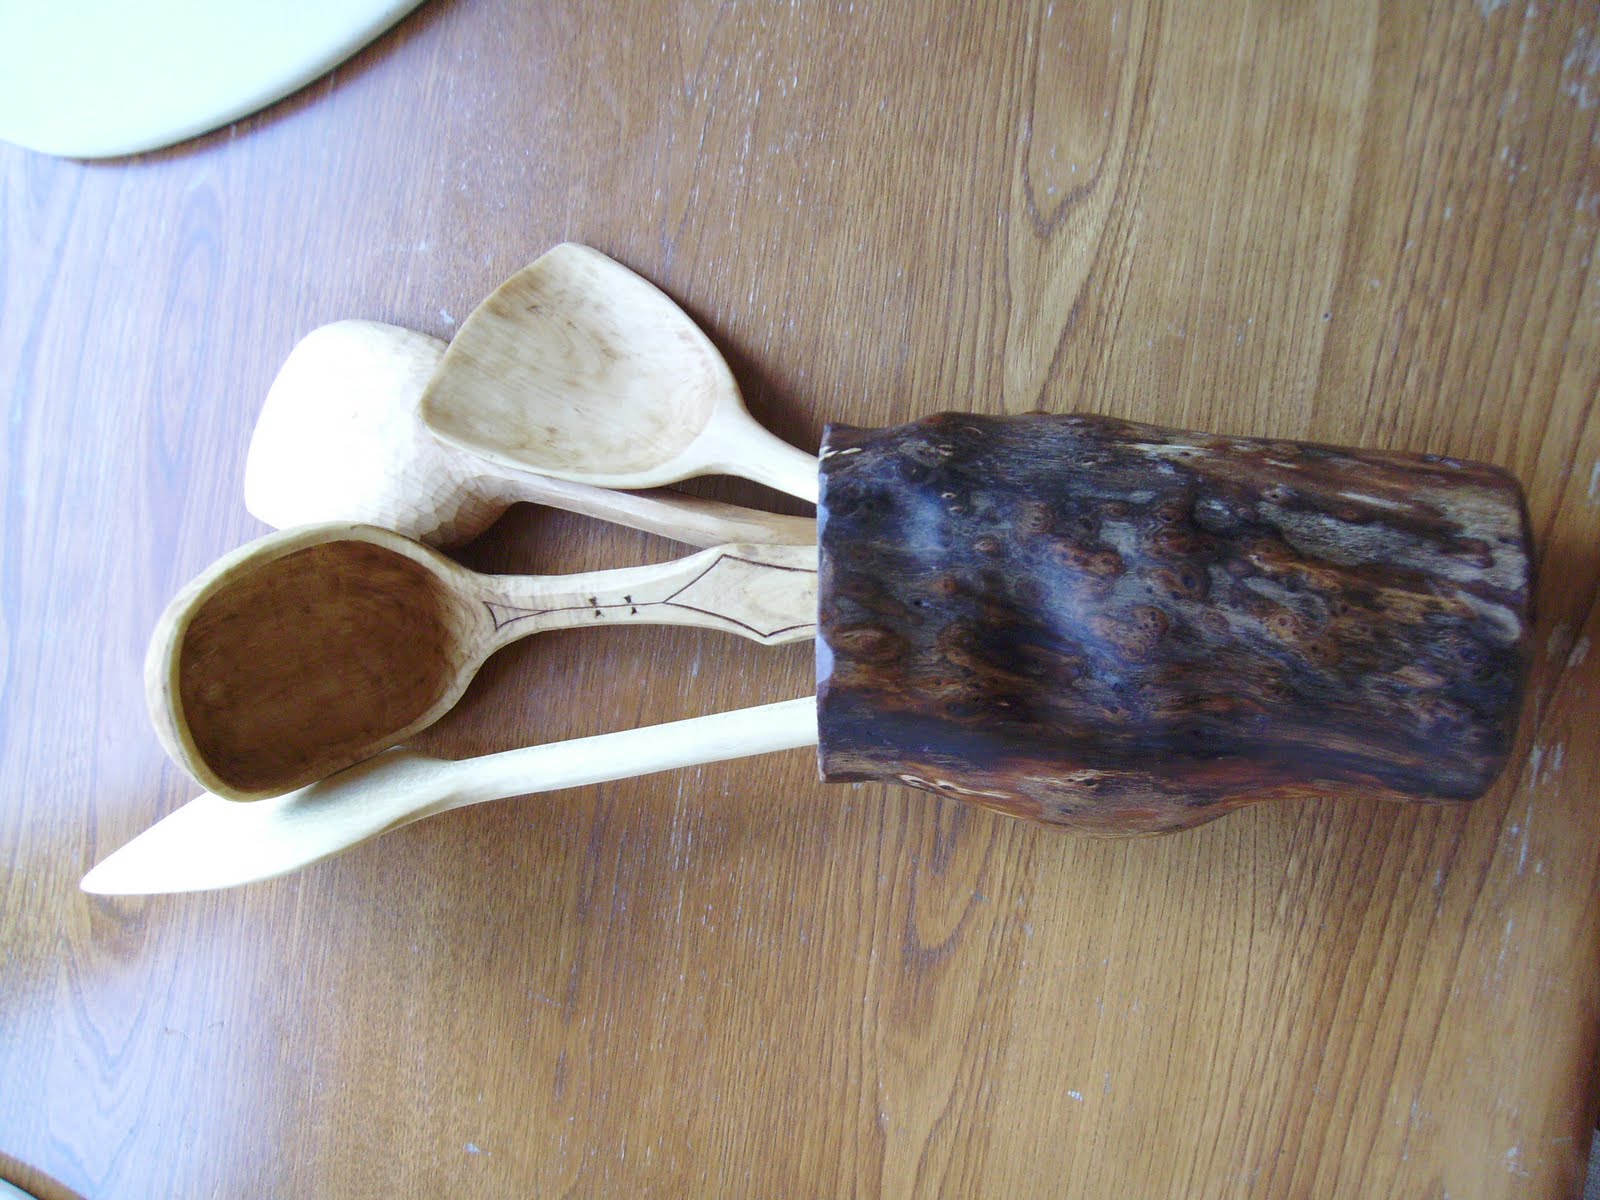
Well it's been ages since my last post so over the next few days I'll post some catch ups on what I've made and been up to. Last things first, I went on a course in Clissett Woods near Ledbury, Herefordshire last week and thoroughly enjoyed myself. The specific course was titled 'Sculptural and Garden Seating'. I have the intention of making rustic style chunky municipal benches in the near future, from the abundant felled Oak which gets mostly chipped round here; so thought this would be an ideal starting point.
The courses are run by well respected
Greenwoodworker and furniture designer,
Gudrun Leitz. She is a co-owner of
Clissett Wood along with 6 other syndicate members. One of the
original partners was Mike Abbott, another well known green woodworker and
author, but Mike has now moved on and has his own woods. I soon learned that the course title is not a strict mantra, as many students wanted to just make a small chair or stool for indoors- which was easily accommodated.
Gudrun has assembled a team of assistants who help course students along the way and attend to the cooking in the camp kitchen. These assistants were really good and made our crazy project ideas an attainable reality- thanks
alot guys and gals.

This is the outdoor workshop looking out from the kitchen area.In the foreground are the sawing breaks, to the left is the cleaving area and beyond that the shavehorses and pole lathes. The whole area is under suspended light tarps, which seem to magnify the light and allowed those of us chose to camp on site to work late into the night.

And turn through 180degrees to look back into the camp kitchen. This is very much the hub of the operation; where meals are cooked, components are kiln dried and folk share ideas and learn from each other's
booboos!! I was lucky- we had a great bunch of folk from all walks of life coming together for tea breaks and sharing a common enthusiasm for green woodwork.

This is a poor picture taken on my phone but it shows the cooking range with bellows, in the foreground the wooden access to the wood drying kiln and on top - the bell shaped clay oven. there is no shortage of fuel of course in the form of knotty
coppice material from the woodland management scheme.

This is the steamer box, used for steaming components such as back splats and chair hoops prior to bending. You can see some formers and cauls used to shape the pieces into their new shape. The chair hoop in the foreground is a Chestnut pole that has been formed by this method.

Finally for now, a really poor picture of the fruits of my labour back at home. If you fancy having a go at one of these courses I couldn't recommend them highly enough. It is very intense however so make sure you get stuck into the work from day one, if you want to complete your project; one or 2 people dithered for the first couple of days, and as a result, really struggled to complete. Also I recommend camping or staying in one of the shelters on site as this made the experience 5 times more enjoyable. I made some really good friends sitting round the camp fire with a tipple and having a laugh and joke- cheers guys, what a hoot!!

 The bowl is going to be a real tour de force as I only intend using hand tools and the blank is about 2ft by about 16" wide. In the above picture I have already started work with the Karlsson Bowl Adze and hollowed out quite a lot of material. This is the underside:
 I love working with Sycamore, it is easy to work green, is quite resistant to splitting whilst drying and ends up as quite a durable hard timber once seasoned. On top of that of course is the fact that it is food safe which makes it ideal for kitchenware. It's going to take me a while to complete but I can tell with all that ripple figure and burr clusters it will look stunning once it is dry and oil finished. Here's a close up of some of the burring:
 Here you can see the scooping marks left by the adze. I love this tool- it can waste material very quickly with full swings but can get towards a refined finish as you shorten the swings and use both hands interlocked to hold the handle.
 The tool in the bowl is one of the Crook knives that Rob Wood advocates on his bowl carving courses and I believe is inspired by the ones used by Northwest Indian tribes in the USA. I can certainly recommend one if ever you do one of Rob's courses. Here I'm using it to clean up the adze marks. At this stage I'm not going for a final surface finish- rather removing the deepest adze marks whilst the timber is still wet and easy to waste.
 Progress being made to thin the walls and smooth out the inner surface. Once I've done this I'll set the bowl aside for a good few days and allow it to dry before returning to it and take some finish cuts.
 Here's something interesting I picked up on ebay recently. They're a couple of Snell Boring Machines, made in the USA. They were intended for making the mortice holes for barn roof beams. One of them is a fixed vertical borer, the other having an adjustable angle of attack. This will prove useful I hope for boring the mortice holes for chair/stool/bench legs.
 Great thing about this purchase was the fact that it came with a complete set of augers in really good condition from 2" down to 1/2". They just need a good clean up.


 And here are the Hollow and Round formers that correspond to the radii of the various gouges.

 From there Tony took over and showed us how the tools were hand ground on massive