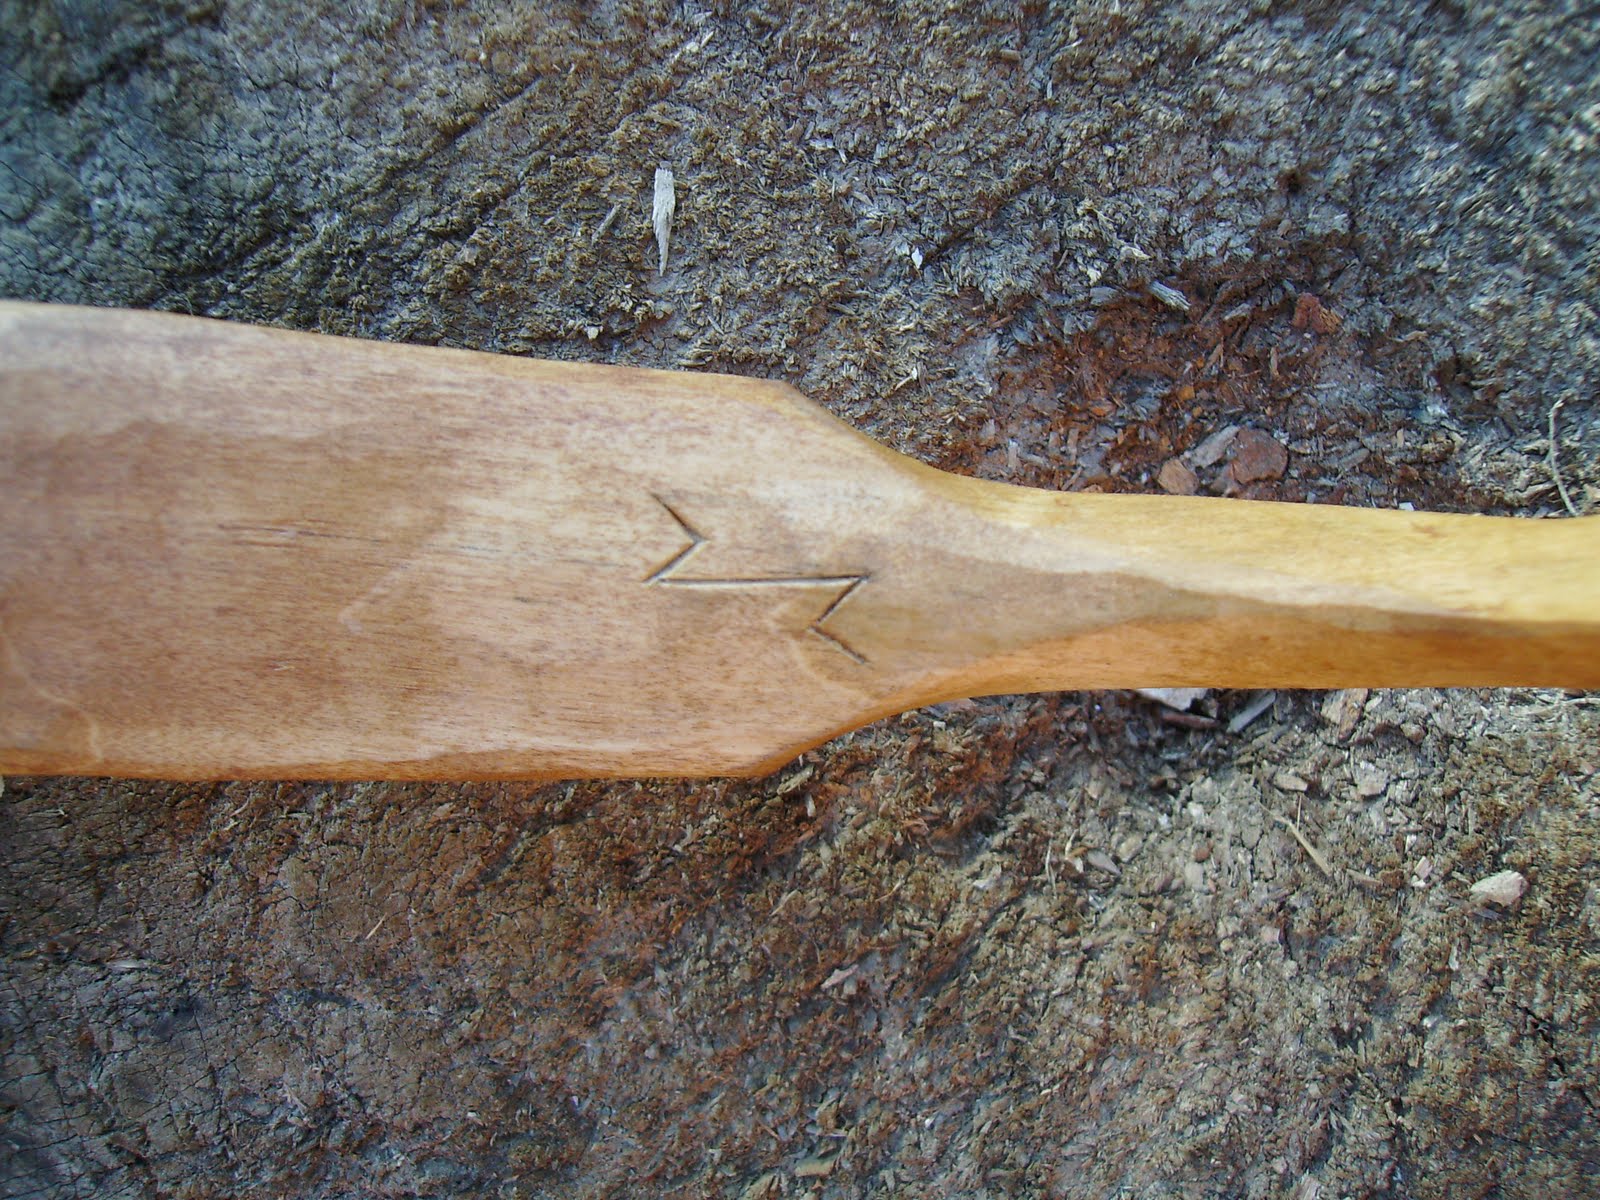
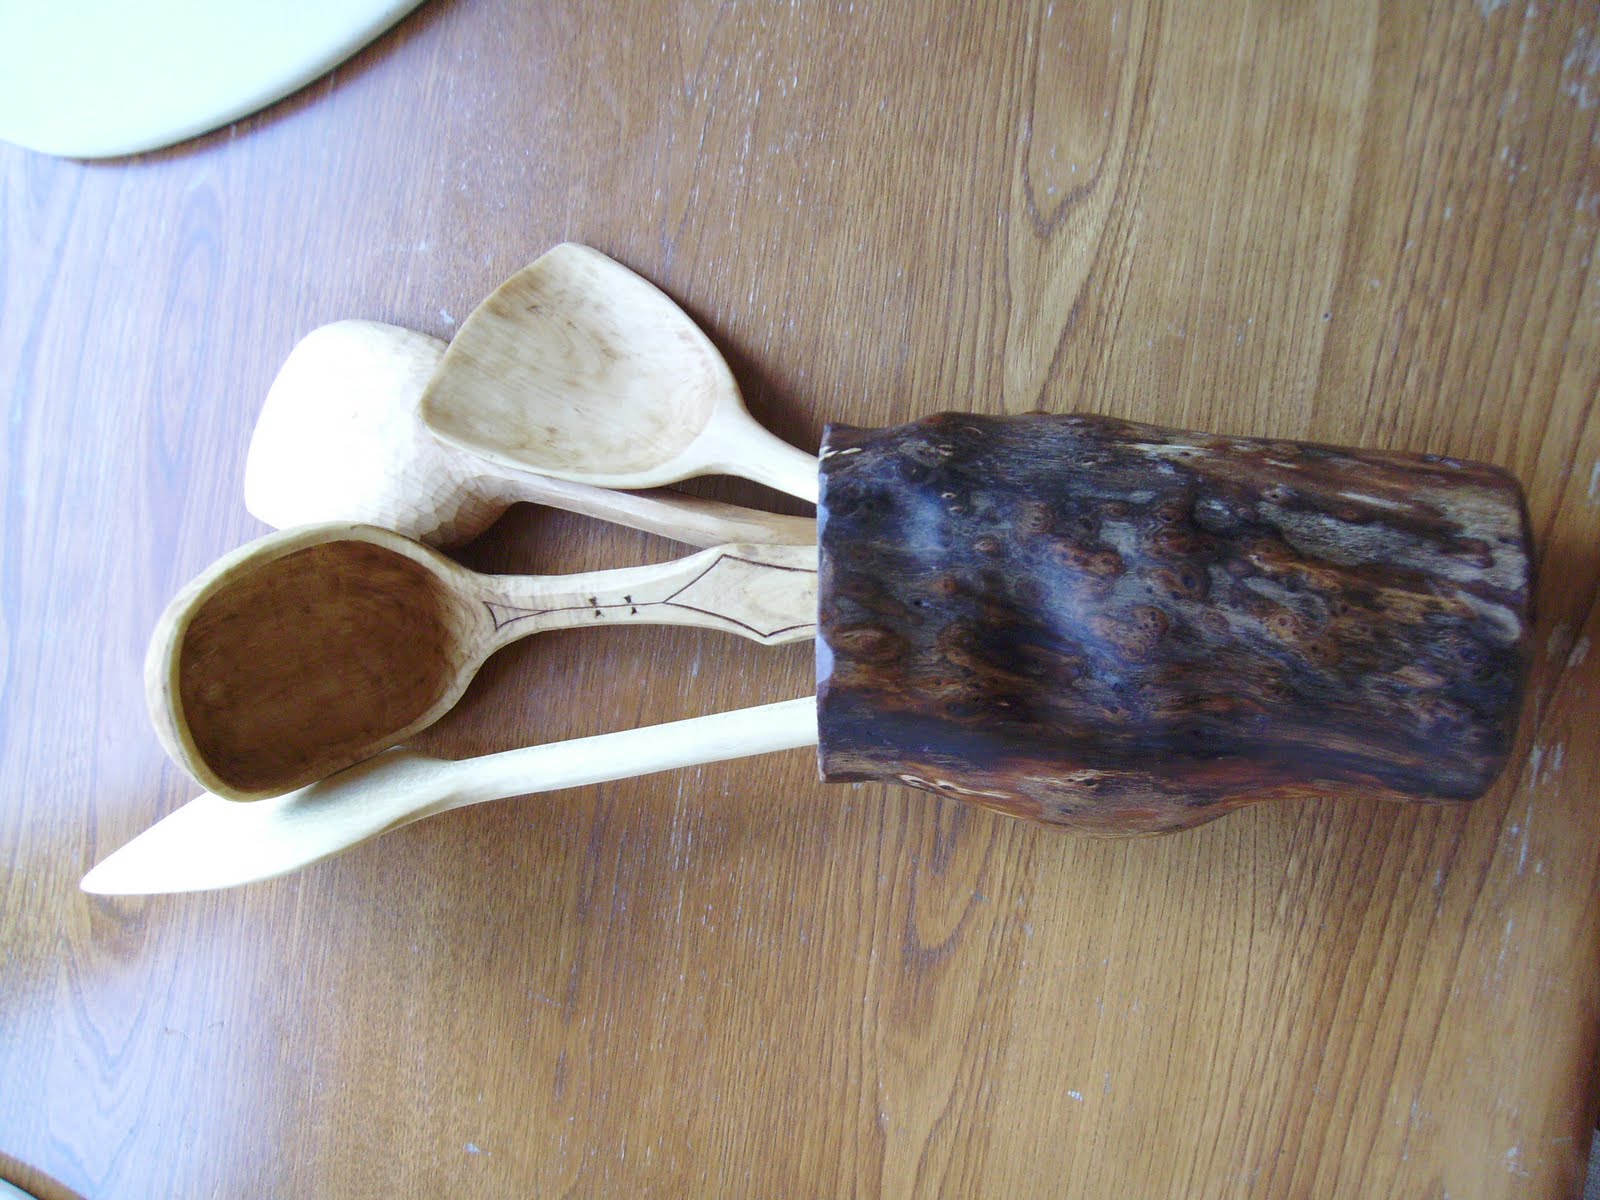
I often make kitchen utensils out of spare b
its of timber I have lying around to through in the kitchen drawers at the station. These are a few that were made out of Sycamore a while ago.
I don't go overboard in making them as they are very much used and abused on a daily basis, a lot just disappearing. I find it interesting though to see how quickly they pick up a nice patina due to constant use. It's also interesting to not the ones which seem to get the most use- as this is nice feedback for making kitchen sets for people. Interestingly, the lads tell me they like the scabby one third from the right (which was obviously made from
sawn rather than cleft wood!!), must be because it can scrape into corners.

Today I nipped up to my local Tack suppliers to get some more Linseed oil. I finish all my
woodenware pieces that will come into contact with food, with Cold pressed or Raw Linseed Oil. This cures much more slowly (at least 3 months) than boiled linseed oil but contains no harmful additives. With smaller items such as spoons, I first of all heat up the oil in a pan and submerse the piece to drive the oil into the
endgrain pores.

Here you can see the moisture and air fizzing as it is forced out of the
endgrain pores. This means oil
absorbs more deeply into the wood fibres to replace the
dispersed moisture.

After the heat treatment I throw the pieces in my oil bath for a few days to saturate. This is simply a
bain marie full of linseed oil in my shed. The removable tray is handy for pinning down the wooden pieces and keeping them fully submerged. As I say the curing process takes a few months to complete, but if you can, it is advantageous to periodically re-oil your pieces to keep them water resistant.

Cheers John

 I have found that I get a much nicer finish on the spoons if you immerse them in Linseed oil for a couple of days BEFORE taking the little finishing cuts. Of course this means allowing a bit of extra material as you get close to your final spoon. I think the oil consolidates the wood fibres and also lubricates the knife cuts.
 I often go back to spoons and other treen months after making and oiling them and find a much nicer surface can be attained, then simply re-oil them. I recently did this with the very first item I made chez Robin Wood ( sacrilege, I know) and refined it to a design I am really happy with, and have been using as a template for a batch- I'll post some pics anon.